Translations:RGB-Pi JAMMA Installation/4/en
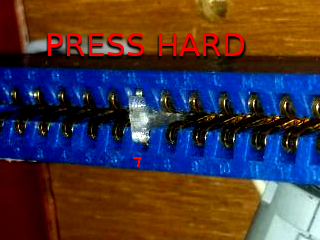
| 1. DO NOT SKIP THIS STEP. Insert the ┳ piece in pin 7 of the female JAMMA harness |
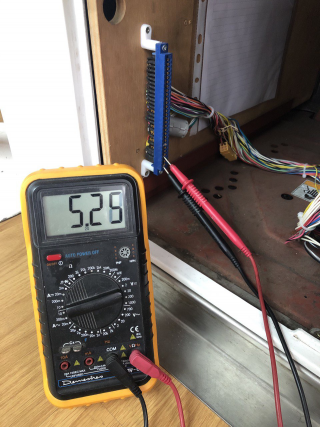
| 2. With the RGB-Pi board still DISCONNECTED, turn on the cabinet and adjust the voltage in pin 3 to 5.25v. |
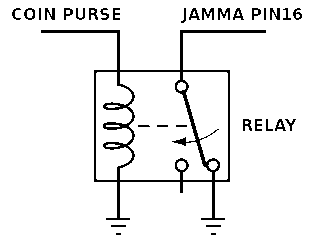
| 3. Check if your machine has a coin counter or electronic purse on pin 16 & T, if this pin gives 12v or 5v this can damage the rgb-pi board, disconnect the power of the coin purse or counter or replace it with a button or put a relay. |
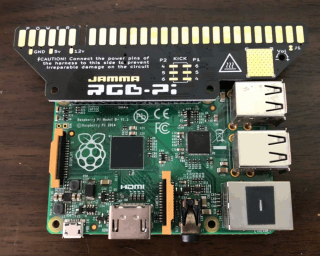
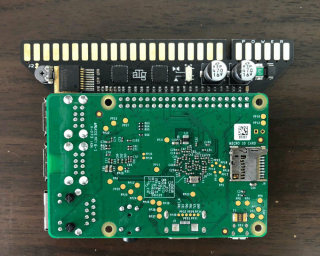
| 4. Connect the RGB-Pi board to the Raspberry with the JAMMA connector facing to the outside of the Raspberry Pi |
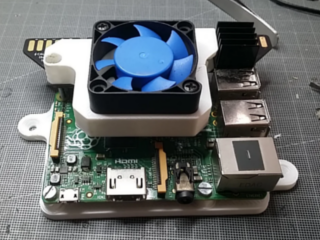
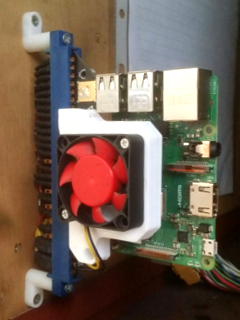
| 5. If you are going to use a high volume level, you must add a heatsink like the used for the CPU of the Pi in the golden square indicated with the heat symbol, if your volume level is low and you do not notice heating in this square or you are using it a cooling system with fan does not need to be used. |
| 6. WITH THE MACHINE OFF connect the JAMMA RGB-Pi to the arcade cabinet. DO NOT PLUG ANY USB POWER ADAPTER TO THE RASPBERRY PI |
| 7. That's all! For instructions on how to install RGB-Pi OS, please visit the corresponding section in this wiki. |

